Wave Whale Song
A whale silhouette made from wave lines and open negative space.

Imagine the finished project before you transfer the first line. This hoop reference shows the motif on fabric; the following photographs explore different real-world uses and close-up details.
Start with the original outline, test your fabric and color palette, then work through the method below. Visual mockups are concept references, not proof that the project was physically stitched and tested.
Start with the printable drawing.
This clean transfer image is the design reference for the stitched photographs. Printing or viewing it at the intended size makes it easier to decide which fine details to simplify.
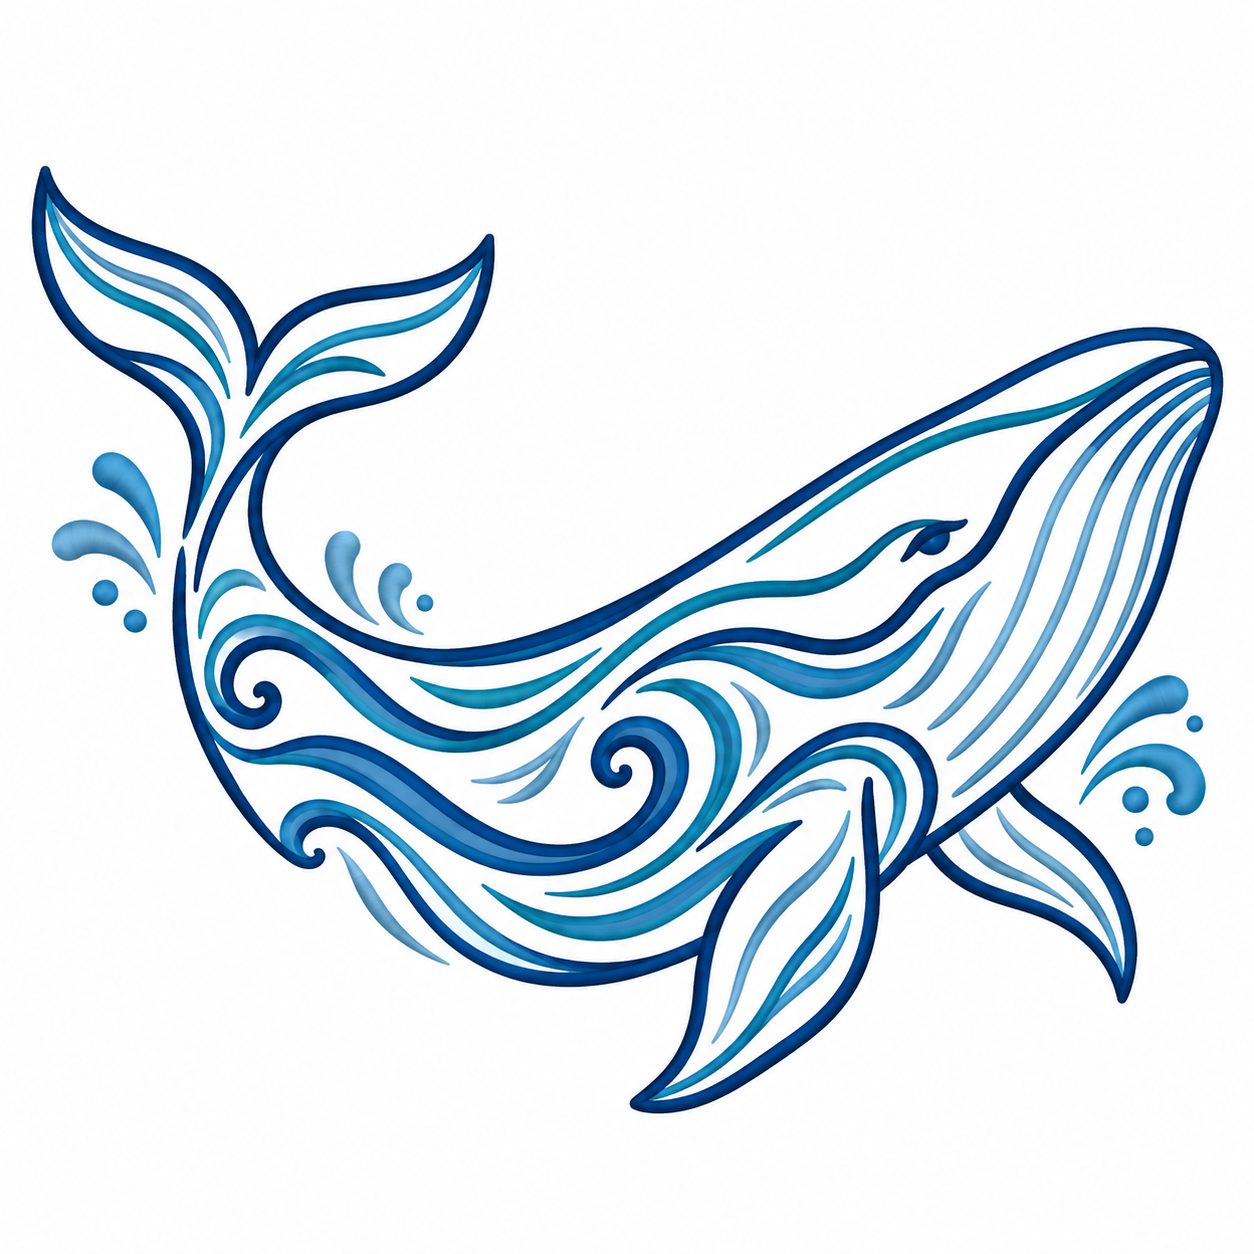
Open the hosted file in a new tab. Free projects can offer a PDF, an EMB file, or both.
What to prepare
Gather the supplies first. A compact floss palette is usually easier to control than many similar shades.
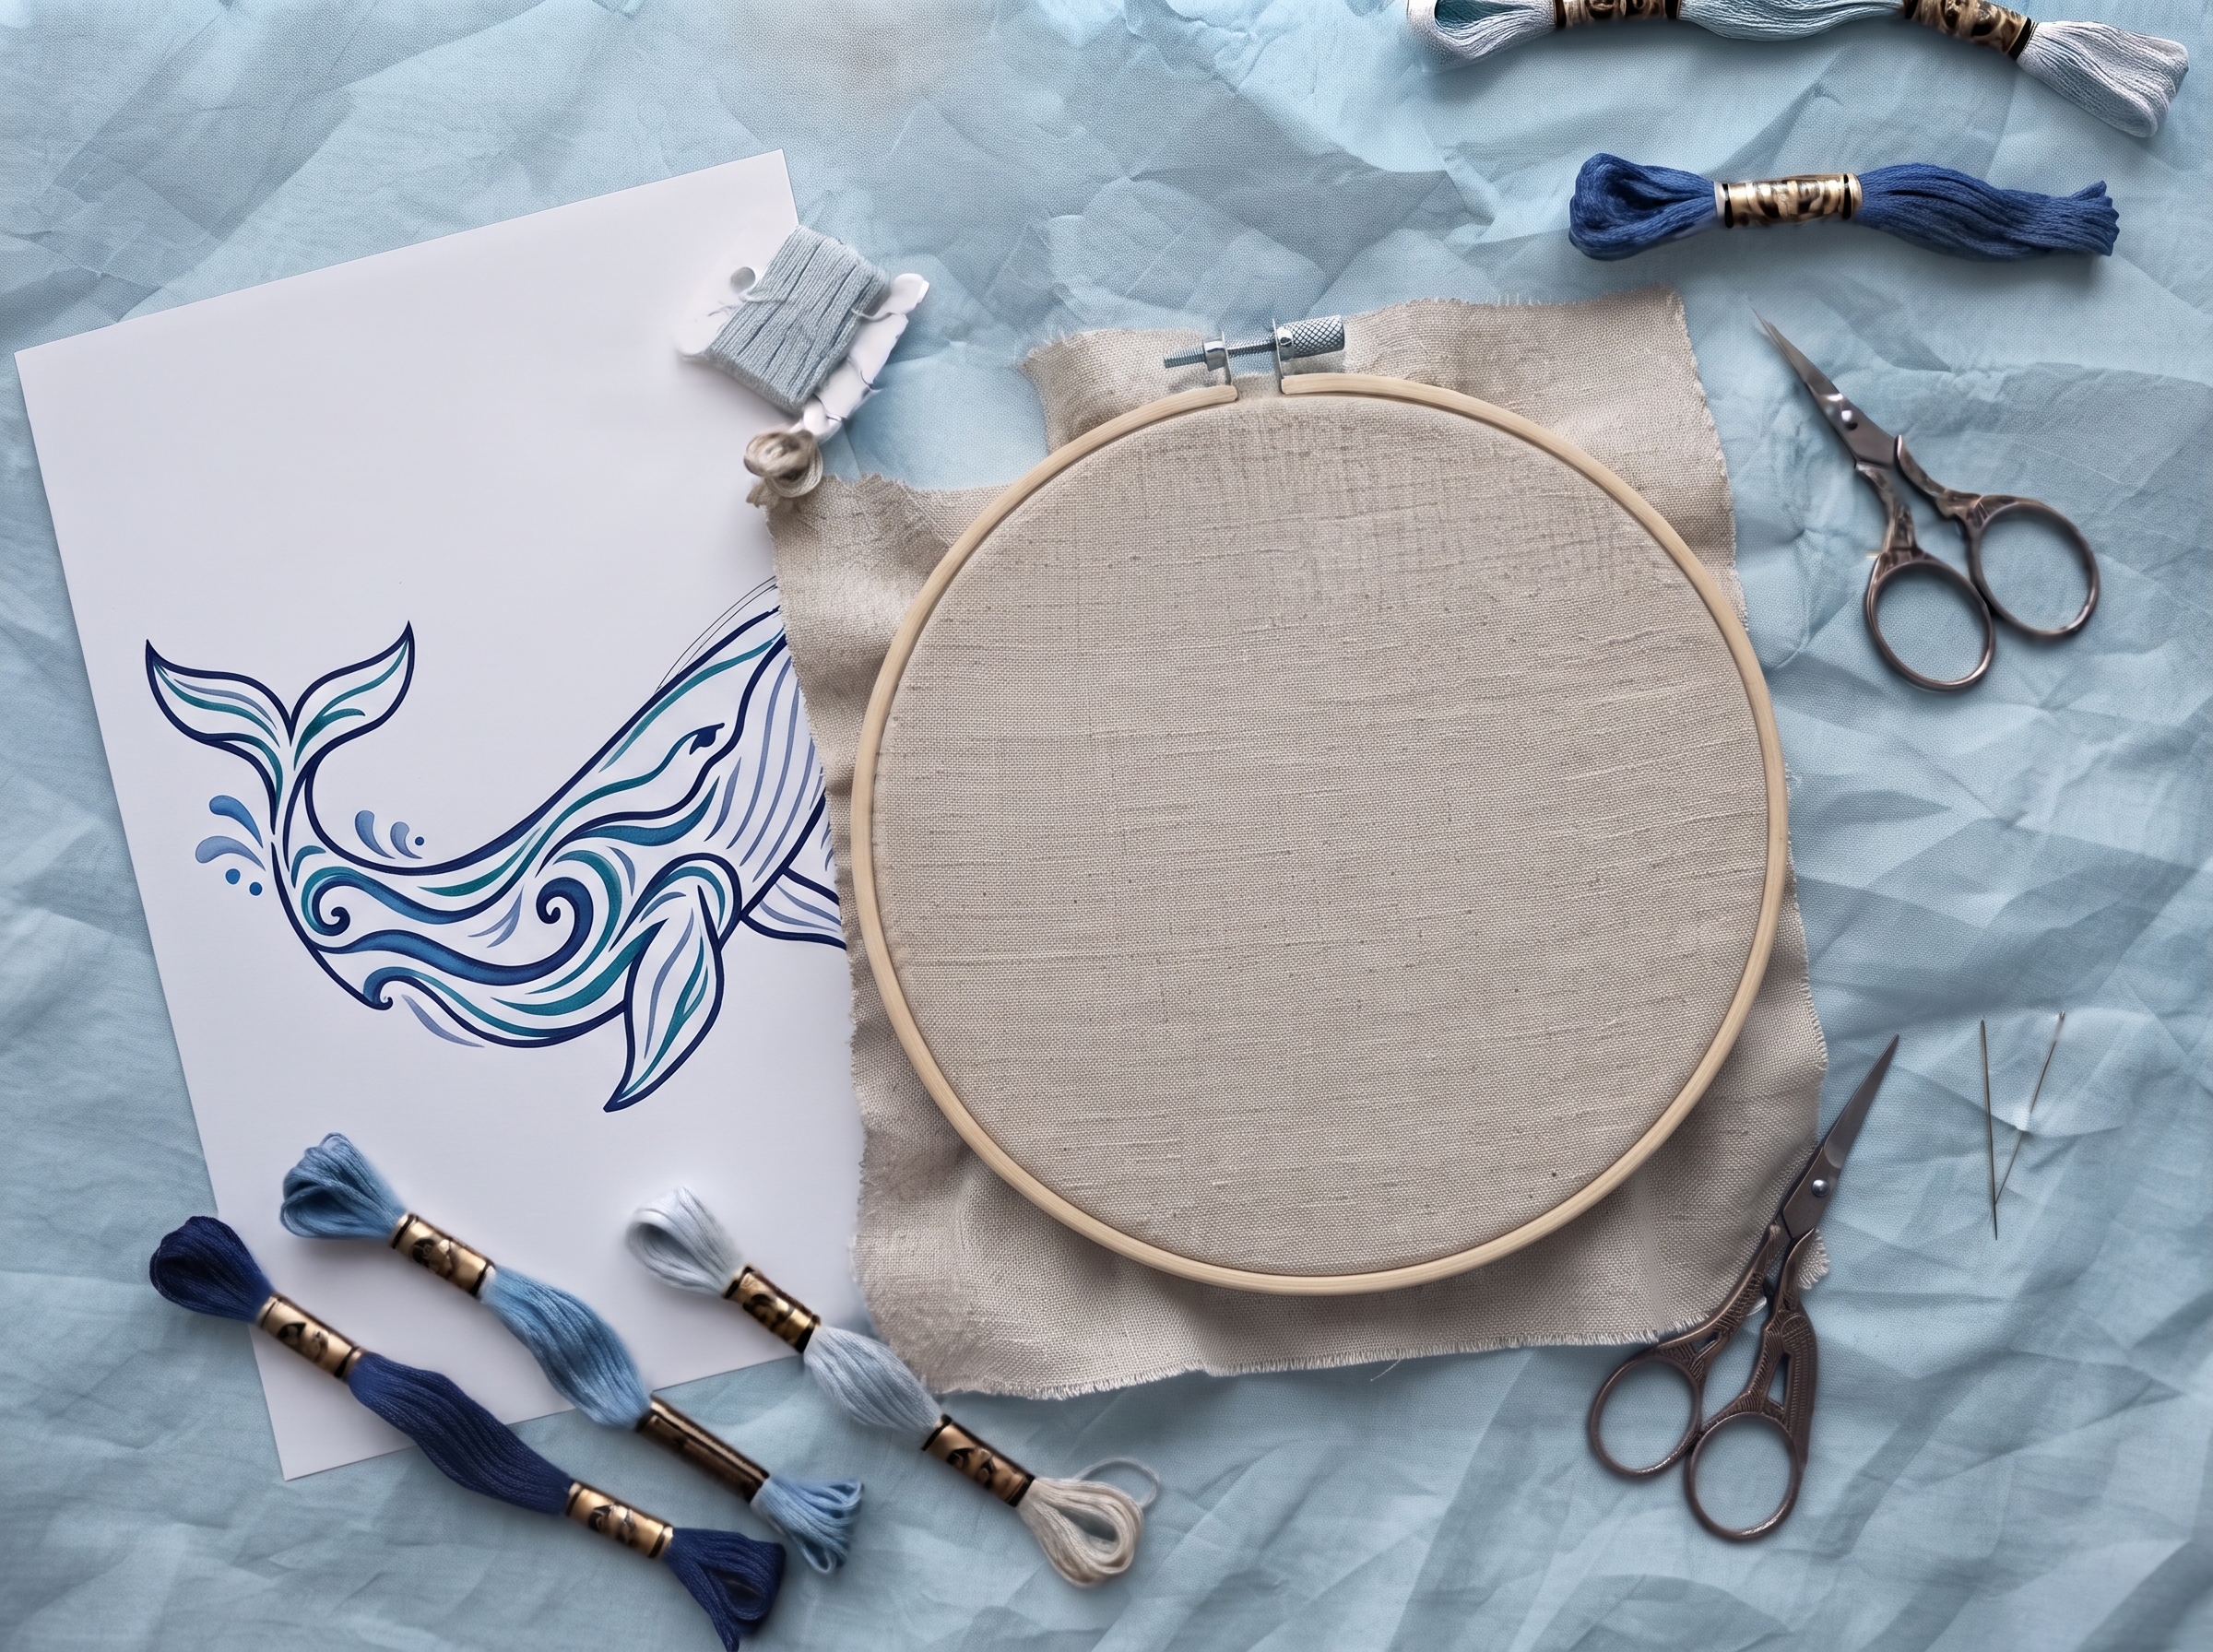
- 6-inch embroidery hoop or suitable work frame
- Fabric or garment suitable for the chosen placement
- Embroidery floss in Deep navy, Sea blue, Mist, Sand
- Needle, small scissors and a transfer method
Planning the design
Wave Whale Song works best when the silhouette is readable first and the inner detail stays open. The main hook is its ocean line embroidery feel.
Deep navy · Sea blue · Mist · Sand
Choose a surface that suits the design and adjust its size, position and stitching method to suit the material.
Transfer approach
Transfer the outline at the size you plan to stitch. Test the transfer method on a matching material first and check that small details remain legible.
Color relationships
Use deep navy as the lead color, support it with sea blue, and keep the other shades as accents.
Scale suggestions
Check the design at its intended size before stitching. Leave enough room for curves and fine details, and simplify crowded areas when working at a smaller scale.
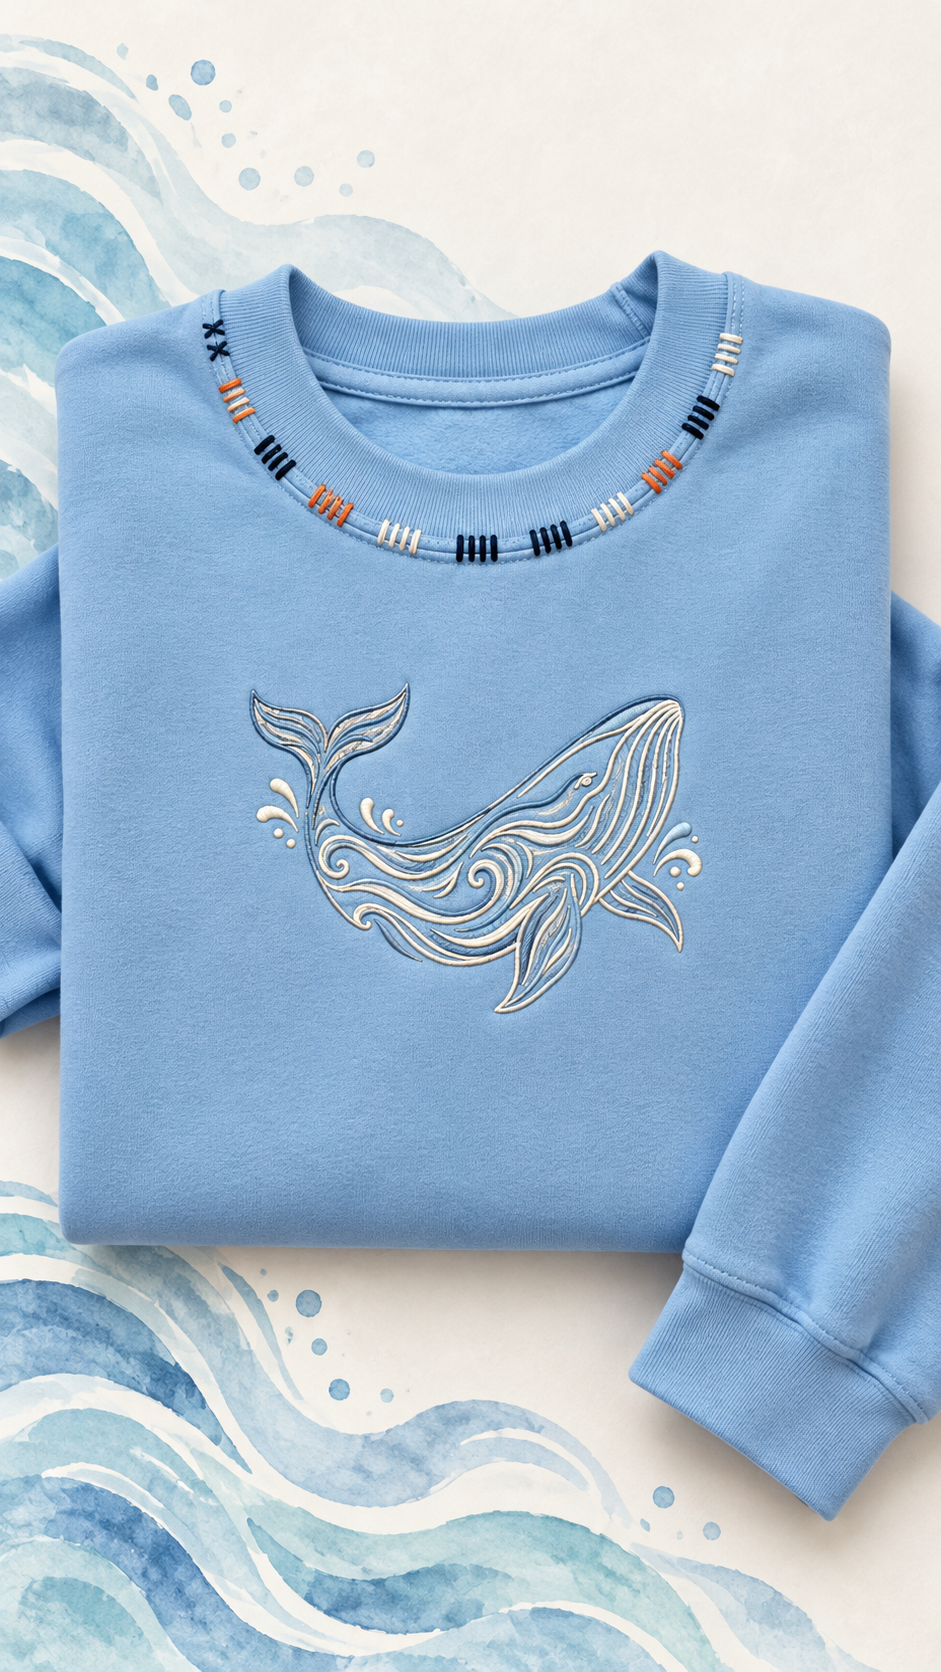
The design in a new setting
See how the embroidery design can look in use. The result depends on the material, scale and available space, so adjust the technique to suit your chosen surface.

Stitches that fit the motif
Use shorter stitches on curves and where parts of the motif are small. Practicing each stitch on scrap material is useful before starting the final piece.
- Back stitch for clean outlinesWatch back stitch
- Stem stitch for curves and flowing linesWatch stem stitch
- Running stitch for airy texture or guide sectionsWatch running stitch
- French knots or tiny satin accents where neededWatch french knot
Follow a sensible working order.
These instructions describe an adaptable stitch plan. Check the design on a scrap and revise thread strand counts or stitch lengths where needed.
Build the silhouette
Transfer the main contour for wave whale song first and keep the big shape readable before adding smaller details.
Add internal motifs
Place the decorative internal lines, fillers or surrounding elements in an open and balanced way.
Control the density
Keep the smallest areas light so the design stays stitchable and the negative space remains visible.
Refine the finish
Remove anything too crowded, secure the reverse neatly and simplify details when scaling down.
Another view of the design
A different view shows how the same motif can work in another setting or from another perspective. Keep the design consistent while adapting its position, size and presentation to the surface you choose.
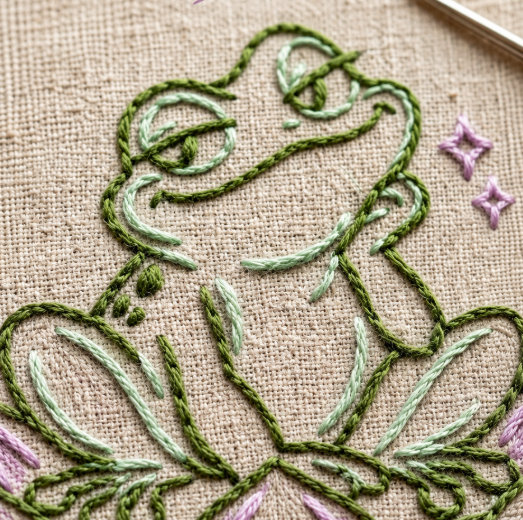
See the stitch texture close up.
Zoomed detail makes it easier to understand thread direction and the effects of stitch density. Compare the photograph against the transfer outlines before you work on a final piece.

Access the project files
Free projects use direct file access. Offer PDF and EMB links in the pattern section above; you do not need extra SVG links.
Recommended workflow
Use the printable PDF for browsing or transfer planning, then download the EMB file when you want the machine-ready version.
Publishing note
Keep this project in free mode when you want direct Google Drive downloads. Switch to Etsy mode only when you have a live listing URL.
Common problems and quick fixes.
- This concept is strongest when the outer silhouette reads clearly from a distance.
- If you scale the motif down, reduce tiny details before reducing stitch length.
Puckering fabric
Use smaller stitch sections and lighten thread tension, particularly on softer materials.
Crowded details
Enlarge the motif or simplify tiny accents. Stitchability matters more than exact line count.
Visible transfer marks
Test removable inks on a matching scrap before tracing onto the finished item.
Uneven colors
Keep a stronger outline shade and avoid shifting palettes between the source and application images.
Questions before you start
Practical answers about using the printable pattern, planning your stitches and choosing where to place the finished design.
01Where can I download the printable PDF or EMB file?
Use the PDF link to open the printable file in Google Drive. The EMB button downloads the machine-embroidery file directly because Google Drive cannot preview EMB files.
02Is this embroidery project suitable for a beginner?
The suggested difficulty is confident beginner. Begin with the outer lines and a small practice swatch. If the motif includes curves, tiny lettering or many closely packed details, simplify them before working on your final fabric.
03How long should I allow to finish the design?
The planning estimate is 2–4 hours. Actual time depends on stitch density, design size, number of thread strands, and experience; allow extra time to transfer the design and finish the reverse side.
04Can I use this design on a different surface?
Yes, provided the material is suitable for the stitching method you choose. Check that the area is accessible, test the design on a matching scrap, and use the appropriate support and thread tension. The pattern may need resizing or simplifying to suit the available space.
05What size should I print the pattern?
Start with a size that leaves breathing room between the smallest lines. Compare the printed motif with the available stitching area before marking. If you reduce it substantially, remove tiny dots and close-together accents rather than forcing crowded stitches.
06Which stitches and thread colors should I use?
The stitch plan above matches the main outline sections, and the starting palette is Deep navy, Sea blue, Mist, Sand. Treat the colors as a suggestion: test two or three thread strands, choose one strong outline color and work filled areas in short sections to control tension.
07How do I transfer the outline without leaving marks?
For pale fabric, trace over a light source using a suitable removable fabric pen. For opaque or dark fabric, consider dressmaker’s transfer paper or printable water-soluble stabilizer. Always test the exact removal method on matching fabric first.
08What do I do if the fabric puckers or the stitches look uneven?
Reduce thread tension, re-tighten the hoop evenly, shorten long stitches and use an appropriate stabilizer on stretch fabric. For uneven satin stitch, follow the shape in smaller sections and keep each stitch parallel to its neighbors.
09Are the example photographs from a physically stitched sample?
Not necessarily. Editorial images may be digitally generated or edited placement concepts. They help show how the outline could look on real fabrics, but they do not prove that every stitch or the full pattern has been physically tested.
10Can I change the colors or placement?
Yes. Use the same outline with a color palette that complements your chosen material. The second photograph may show a different setting or another angle of the same design. Adjust the scale and amount of detail so the motif remains clear and suitable for the stitching surface.
11Can I sell finished items or redistribute this digital pattern?
Check the license supplied with the PDF/EMB files or Etsy listing. Download availability does not automatically grant commercial rights, resale rights or permission to redistribute the artwork. Anime-inspired motifs require additional care around protected character art and trademarks.
12Where should I begin if I have never embroidered before?
Start with the beginner embroidery guide and practice back stitch and satin stitch on spare woven cotton. Then transfer a small part of this motif, finish one section and review the tension before attempting the full design.
Make the design your own
- Adjust the size to suit the space while keeping the key shapes clear.
- Change the thread palette to complement the material and the overall look.
- Use fewer details for a simpler finish, or add subtle accents where there is room.
Save this project
Save the original motif and return when you are ready to work on the embroidery.